One of the biggest worries of any trainee dog groomer is nail trimming. But do not fear, all this process takes is practice, practice, practice!
Firstly you need to make sure the clippers used are the right size for the dog you’re working with. The right size clipper will ensure the nail fits easily between the blades and make the whole process a lot smoother and quicker for you both.
Ensure the nail clippers are sharp. If they’re blunt they will put pressure on the nail and may cause the dog to feel an uncomfortable pinching sensation as the vein in the nail is squeezed.
Common Dog Nail Clipping Tools
There are a number of tools which can be used for nail trimming. Here are the most common:
-
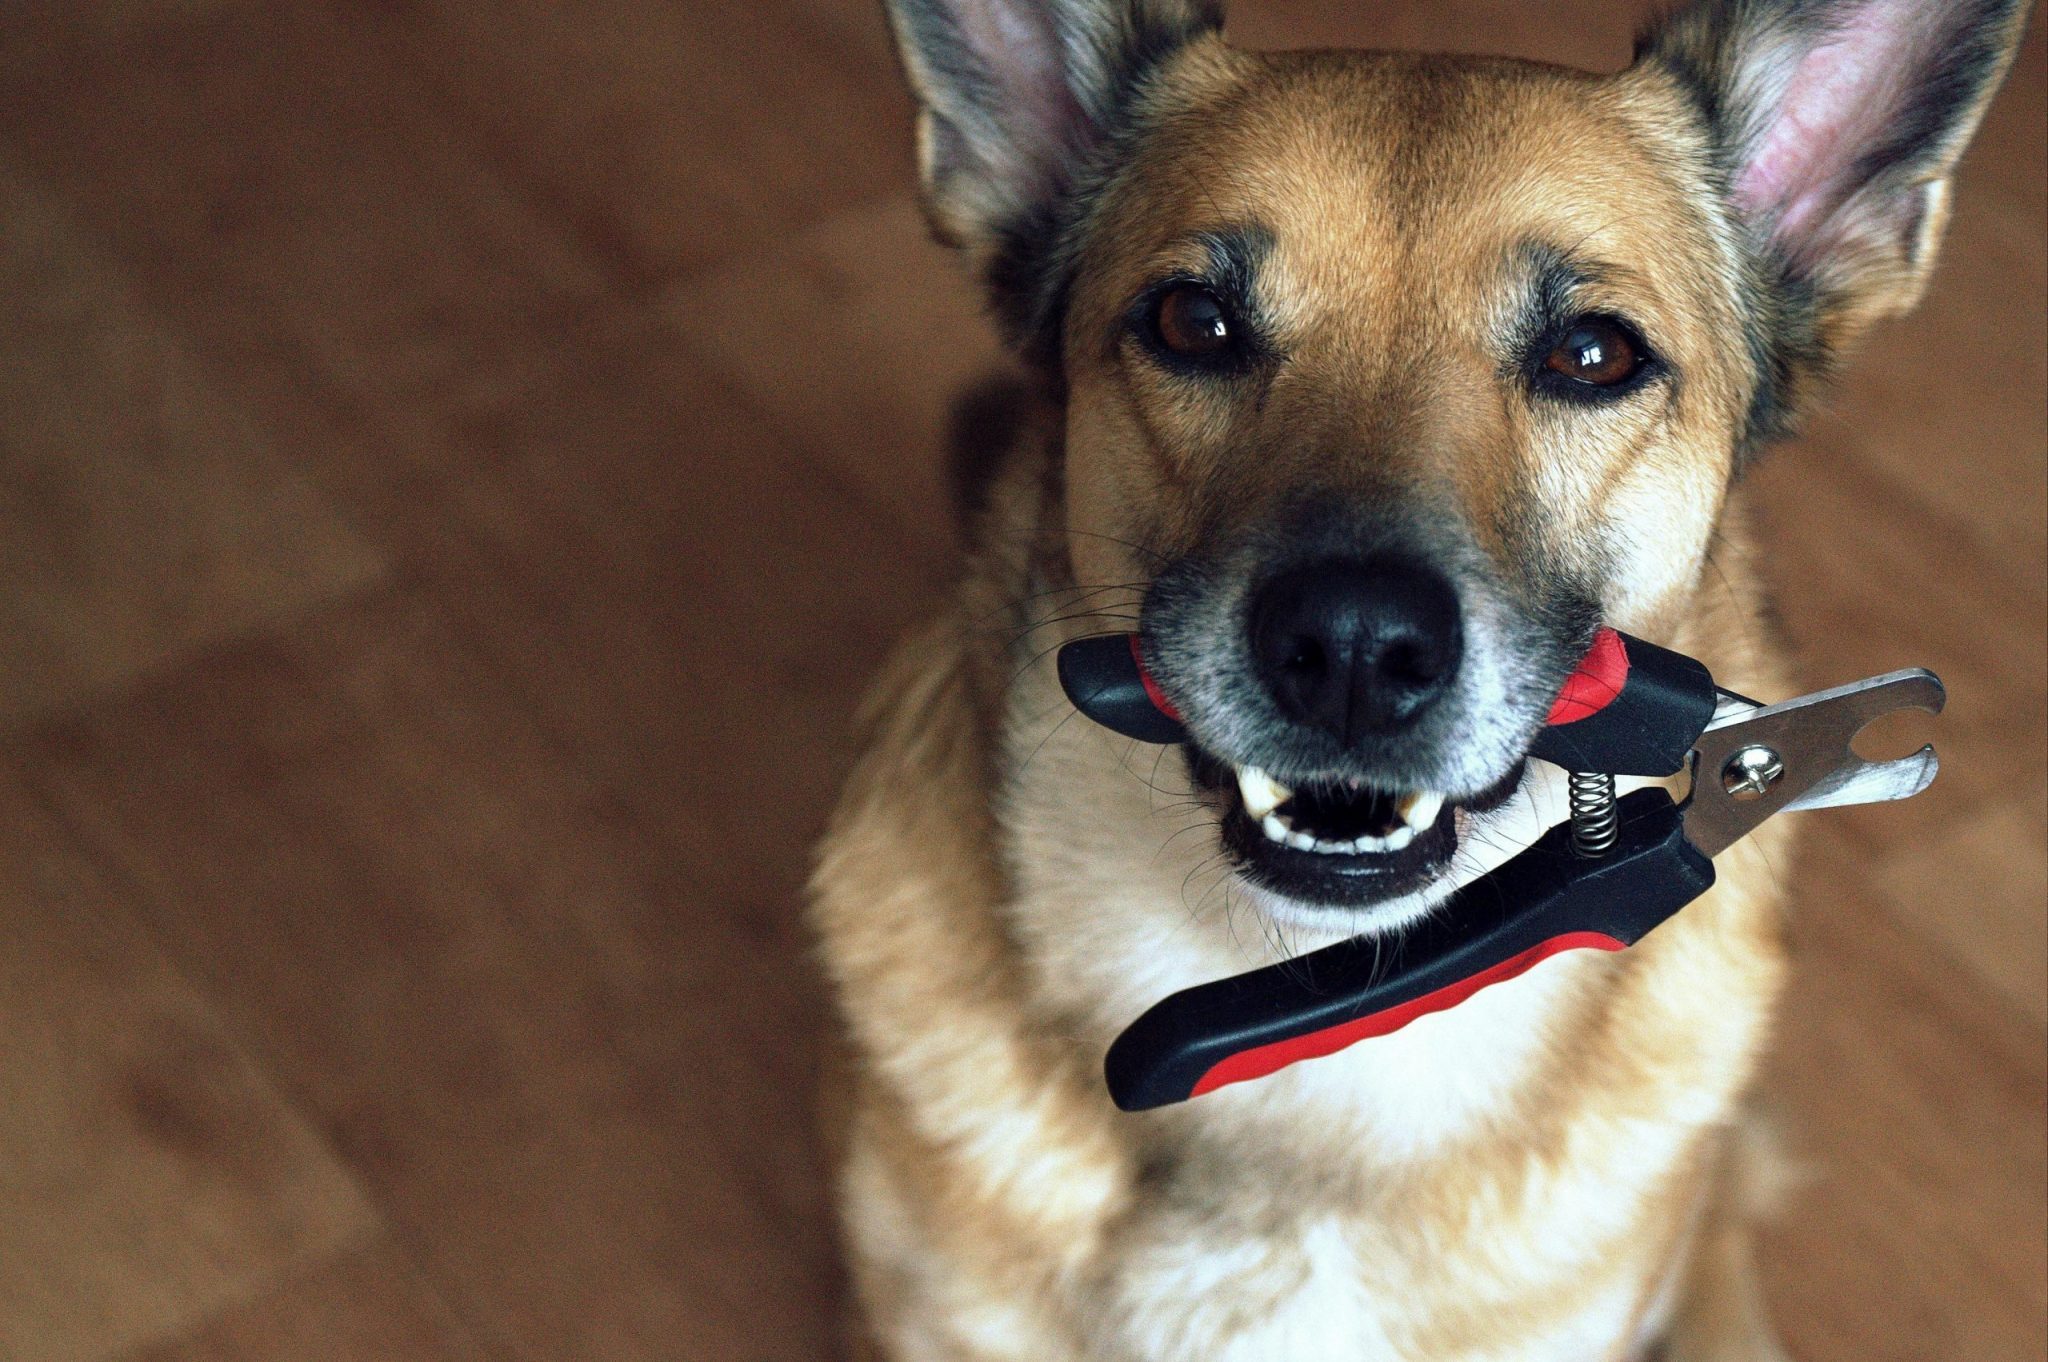
Plier-Style – At The Paw Pad we favour a good old fashioned plier-style nail clipper. They are easy to handle, easy to see exactly where you’re cutting and can be used at any angle:
-
Guillotine – Bear in mind this may be a bit more fiddly as the angle has to be perfect to avoid a wonky regrowth. Guillotine clippers require the nail be placed in a guide hole and the handles closed to cut. This can be difficult if the dog is wriggling. Also, it can be difficult placing larger breed’s nails into the guide hole.
-
Scissor-Style – These are more suited to cat and bird nails rather than a dog’s. You may use them for puppy nail trimming but a small pair of plier-style trimmers would be just as effective.
-
Grinder – This is only for dogs that are completely comfortable with the grooming process. These keep the nails short and less pointy than regular trimmers. In our experience, unless the dog is calm, it is hard to keep them still enough to get the desired result. Most dogs don’t like the noise or sensation of a nail grinder. You need time and patience to get a dog used to it which isn’t really possible as a professional groomer. However, once a dog is used to the grinder their nails will be easily maintainable and beautifully manicured! A regular nail file may be used but, once again, it may be difficult to keep the dog calm and still as you file down the rough edges.
Do not believe the myth that dew claws shouldn’t be clipped, they absolutely should. If a dew claw is left to grow it can cut into the nail pad as it curls, causing a lot of pain and possible infection to the animal. Be sure to check for front and rear dew claws and include them in the nail trimming routine.
Why do a dog’s nails bleed if they’re cut too short?
Clip very small pieces of the nail tip until you can see a dark, round, kind of moist looking disk appear in the middle of the nail. This means you’re approaching the quick and the nail will bleed if you cut it any shorter. The quick is a blood-filled tissue in the dog’s nail.
To stop the bleeding take a pinch of styptic powder (Trimmex) and press it against the bleeding nail. Now give the dog a cuddle but stay upbeat. The nail should stop bleeding in a few minutes. If the nail continues to bleed get some ice and press it against the bleed.
Please do not panic, a dog cannot bleed to death through its nail but it may need veterinary assistance if it continues to bleed or bleeds heavily. Only cut if you’re confident of where to cut but there’s nothing to worry about – even professional dog groomers occasionally cut into the quick!
An important fact to note is that the quick grows with the nail. As a dog’s nails grow longer the quick will also lengthen. If dog’s nails are over grown you will not be able to clip the nails to the desired length without cutting into the quick so be careful. Just trim the tips of the nail often and over time the quick will shorten.
Go slowly and gently when it comes to nail clipping. Once you’ve done it a few times you’ll lose that initial fear and realise it’s not a difficult as you first thought.
Nail trimming is taught as standard on all Paw Pad dog grooming courses. You’ll be a pro by the time you leave us!